


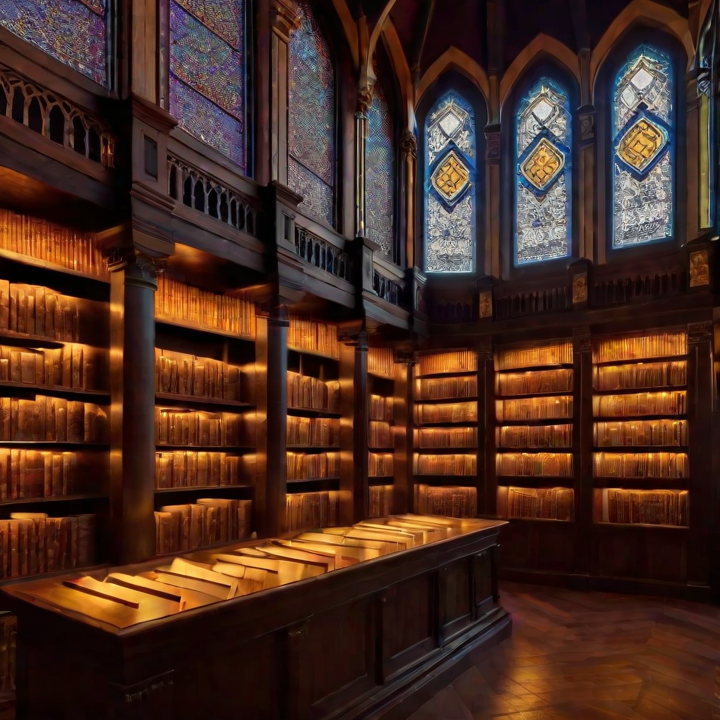
This will give us our baseline image. Euler a tends to be more creative and can handle this kind of magical scene well with its slight randomness.

This should show us more refined details in the books and woodwork, though it might be less "magical" feeling.

This will likely give us a more structured, possibly less artistic but very clean interpretation.

This should provide a good middle ground between detail and creativity.

Runs slower but gives good control and defiition.

Great details and variety.

This will give us our baseline image. Euler a tends to be more creative and can handle this kind of magical scene well with its slight randomness.

This should show us more refined details in the books and woodwork, though it might be less "magical" feeling.

This will likely give us a more structured, possibly less artistic but very clean interpretation.

This should provide a good middle ground between detail and creativity.
< broke on usage >

Runs slower but gives good control and defiition.

Great details and variety.
This will give us our baseline image. Euler a tends to be more creative and can handle this kind of magical scene well with its slight randomness.
This should show us more refined details in the books and woodwork, though it might be less "magical" feeling.
This will likely give us a more structured, possibly less artistic but very clean interpretation.
This should provide a good middle ground between detail and creativity.
Runs slower but gives good control and defiition.
Great details and variety.